The Cellar: a friendly neighborhood coffee shop, with no coffee and no shop. Established 1990.
- Happy Monkey
- Member
 Offline
 - From: DC
- Registered: 10/13/2020
- Posts: 556
Re: Tapecraft
Neat. The next one (for me at least) was also pretty cool.
_______________
|_______________| We live in the nick of times.
| Len 17, Wid 3 |
|_______________|[pics]
- Happy Monkey
- Member
 Offline
 - From: DC
- Registered: 10/13/2020
- Posts: 556
Re: Tapecraft


Christmas 2022 Tapecraft
Here it is on a lit turntable:
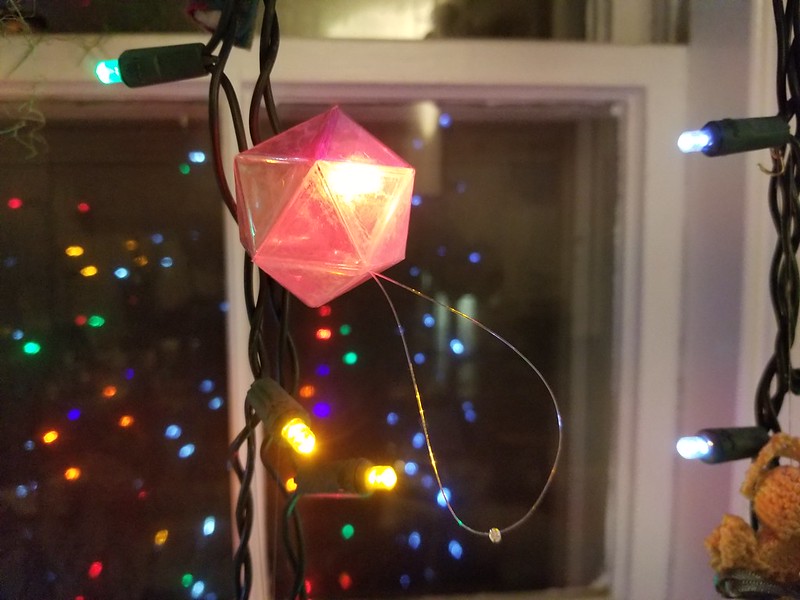
Small ornaments that fit onto Christmas lights (or can just be hung normally)
 Christmas 2022 Tapecraft
_______________
|_______________| We live in the nick of times.
| Len 17, Wid 3 |
|_______________|[pics]
- •
- fargon
- life is good
 Offline
 - From: Viroqua Wi.
- Registered: 10/13/2020
- Posts: 1,342
Re: Tapecraft
Very pretty.
- glatt
- TM
 Offline
 - From: Arlington VA
- Registered: 10/13/2020
- Posts: 1,227
Re: Tapecraft
Impressive, as always.
- Happy Monkey
- Member
 Offline
 - From: DC
- Registered: 10/13/2020
- Posts: 556
Re: Tapecraft
Thanks!
_______________
|_______________| We live in the nick of times.
| Len 17, Wid 3 |
|_______________|[pics]
- •
- Happy Monkey
- Member
 Offline
 - From: DC
- Registered: 10/13/2020
- Posts: 556
Re: Tapecraft
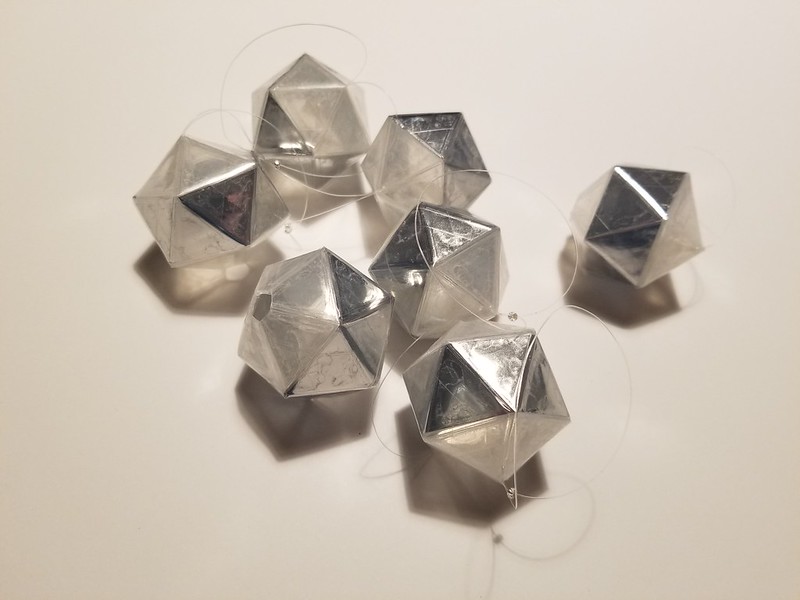
Open dodecahedron - two faces are open, and the remaining ten are "3M ESR (Enhanced Specular Reflector) Film", a film design for extremely efficient reflection.

Rotation view with and without lighting:
And a twisty ornament to take advantage of that reflectivity:

_______________
|_______________| We live in the nick of times.
| Len 17, Wid 3 |
|_______________|[pics]
- •
- monster
- Chaos is my protegé
 Offline
 - From: RIGHT BEHIND YOU......
- Registered: 10/13/2020
- Posts: 3,086
Re: Tapecraft
I was wondering about what you'd made this year just last week. nice work!
The most difficult thing is the decision to act, the rest is merely tenacity Amelia Earhart
- fargon
- life is good
 Offline
 - From: Viroqua Wi.
- Registered: 10/13/2020
- Posts: 1,342
Re: Tapecraft
Beautiful.
- griff
- A Magical Woodland Creature
 Offline
 - Registered: 10/13/2020
- Posts: 3,139
Re: Tapecraft
Neat
If you would only recognize that life is hard, things would be so much easier for you. - Louis Brandeis
- Happy Monkey
- Member
 Offline
 - From: DC
- Registered: 10/13/2020
- Posts: 556
Re: Tapecraft
Thanks!
_______________
|_______________| We live in the nick of times.
| Len 17, Wid 3 |
|_______________|[pics]
- •
- Flint
- starting fires since forever
 Offline
 - From: i am dumb
- Registered: 10/13/2020
- Posts: 1,558
Re: Tapecraft
cool. twisty guy is like a shark egg
signature s c h m i g n a t u r e
- Happy Monkey
- Member
 Offline
 - From: DC
- Registered: 10/13/2020
- Posts: 556
Re: Tapecraft
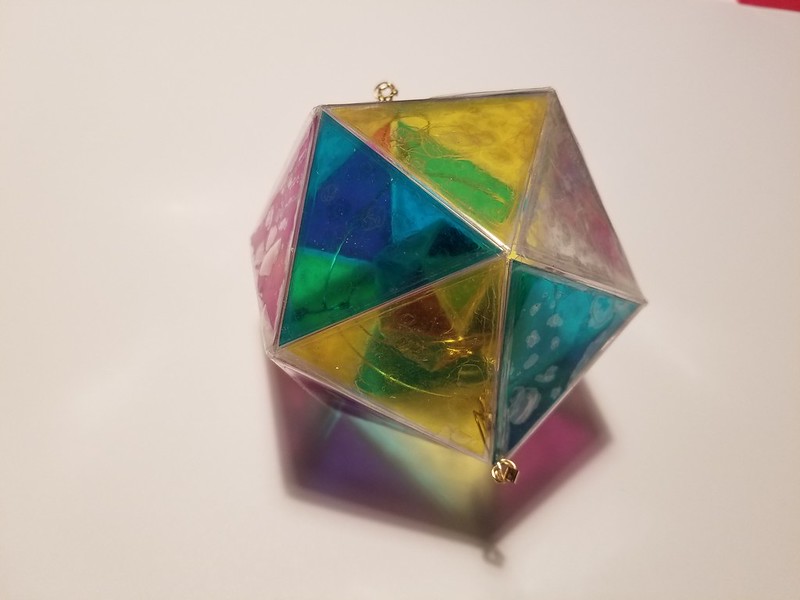
Same as the last one, but this time I colored the frame black, and used some theater gels generously donated by xoxoxoBruce instead of the reflective film. Dodecahedron
_______________
|_______________| We live in the nick of times.
| Len 17, Wid 3 |
|_______________|[pics]
- •
- glatt
- TM
 Offline
 - From: Arlington VA
- Registered: 10/13/2020
- Posts: 1,227
Re: Tapecraft
It came out really well. What size is that? are those taped joints the width of regular tape, like half an inch?
- fargon
- life is good
 Offline
 - From: Viroqua Wi.
- Registered: 10/13/2020
- Posts: 1,342
Re: Tapecraft
It looks like something that Darth Vader would drive. Cool!!!
- Happy Monkey
- Member
 Offline
 - From: DC
- Registered: 10/13/2020
- Posts: 556
Re: Tapecraft
The strips are narrower; two together are about half the width of wide scotch tape. The whole thing is about softball sized.
_______________
|_______________| We live in the nick of times.
| Len 17, Wid 3 |
|_______________|[pics]
- •
- Happy Monkey
- Member
 Offline
 - From: DC
- Registered: 10/13/2020
- Posts: 556
Re: Tapecraft
Sticking with dodecahedrons....
Spiral Dodecahedron
_______________
|_______________| We live in the nick of times.
| Len 17, Wid 3 |
|_______________|[pics]
- •
- Happy Monkey
- Member
 Offline
 - From: DC
- Registered: 10/13/2020
- Posts: 556
Re: Tapecraft
Present for a new niece
Tapecraft 2024
Video Here
Tapecraft 2024
Last edited by Happy Monkey (12/26/2024 12:54 pm)
_______________
|_______________| We live in the nick of times.
| Len 17, Wid 3 |
|_______________|[pics]
- •
- Happy Monkey
- Member
 Offline
 - From: DC
- Registered: 10/13/2020
- Posts: 556
Re: Tapecraft
And the main project this Christmas is actually papercraft
Papercraft Ornaments
20241220_195752
20241220_195726
_______________
|_______________| We live in the nick of times.
| Len 17, Wid 3 |
|_______________|[pics]
- •
- Happy Monkey
- Member
 Offline
 - From: DC
- Registered: 10/13/2020
- Posts: 556
Re: Tapecraft
Inspired by this Youtube video
_______________
|_______________| We live in the nick of times.
| Len 17, Wid 3 |
|_______________|[pics]
- •
- Happy Monkey
- Member
 Offline
 - From: DC
- Registered: 10/13/2020
- Posts: 556
Re: Tapecraft
I made these progress pictures
Papercraft Ornament Steps 1 and 2
(left) Print the stripes with Silhouette cutter registration marks, then (right) use a silhouette cutter with a marker instead of a blade to draw (and emboss) the creases in silver.
Papercraft Ornament Steps 3. 4. 5
(left) Cut off the margins, then (middle) fold the columns in a stairstep pattern, and finally (right) fold the rows in a regular zigzag, with fully visible large rectangles forming a mountain fold on the top right.
Papercraft Ornament Steps 6, 7, 8
(right) Pinch one of the large rectangle mountain folds on the right, and the one immediately next to it. Carefully pull it to an angle, and then pinch the new fold tight. Repeat for the whole column.
(middle) Repeat for the remaining columns.
(left) Pull open to reveal the curve.
Papercraft Ornament Step 9, Complete
(Trickiest part)
Carefully glue the opposite edges together to make the ball.
_______________
|_______________| We live in the nick of times.
| Len 17, Wid 3 |
|_______________|[pics]
- •
- fargon
- life is good
 Offline
 - From: Viroqua Wi.
- Registered: 10/13/2020
- Posts: 1,342
Re: Tapecraft
WOW!!!
- Flint
- starting fires since forever
 Offline
 - From: i am dumb
- Registered: 10/13/2020
- Posts: 1,558
Re: Tapecraft
dang man it's going to take me a minute to absorb this process. I love the full flow diagram
signature s c h m i g n a t u r e
- glatt
- TM
 Offline
 - From: Arlington VA
- Registered: 10/13/2020
- Posts: 1,227
Re: Tapecraft
Wow! Those look fantastic.
- Happy Monkey
- Member
 Offline
 - From: DC
- Registered: 10/13/2020
- Posts: 556
Re: Tapecraft
Thanks all!
_______________
|_______________| We live in the nick of times.
| Len 17, Wid 3 |
|_______________|[pics]
- •
- griff
- A Magical Woodland Creature
 Offline
 - Registered: 10/13/2020
- Posts: 3,139
Re: Tapecraft
Whoa!!!!!!
If you would only recognize that life is hard, things would be so much easier for you. - Louis Brandeis
